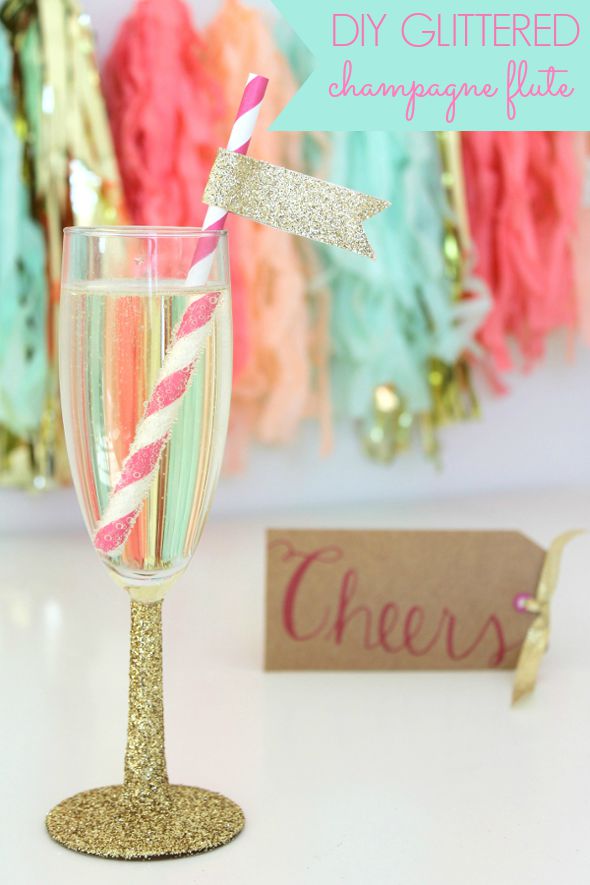
DIY Glittered Champagne Flute
Hello everyone, Kristen and Missy here from Sweetly Chic Events & Design. We’re here today to share this fun DIY Glittered Champagne Flute idea with you! If you’re looking to add a little sparkle to your next event, we have the perfect DIY for any occasion! These DIY Glittered Champagne Flutes would be the perfect addition to any bridal shower, cocktail party or wedding! With just a few inexpensive supplies and simple steps, your next event will be full of glitz and glam!
Don’t miss these DIY Party Ideas:
Supplies:
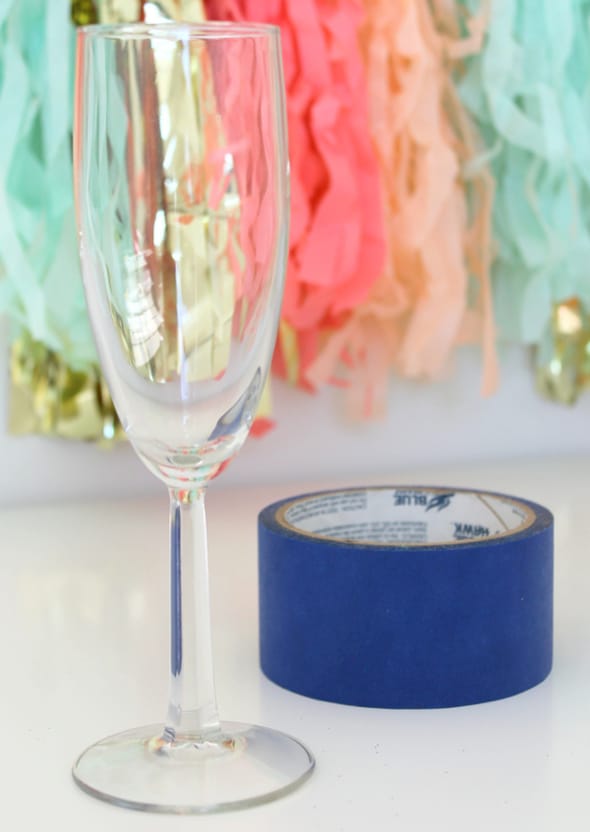
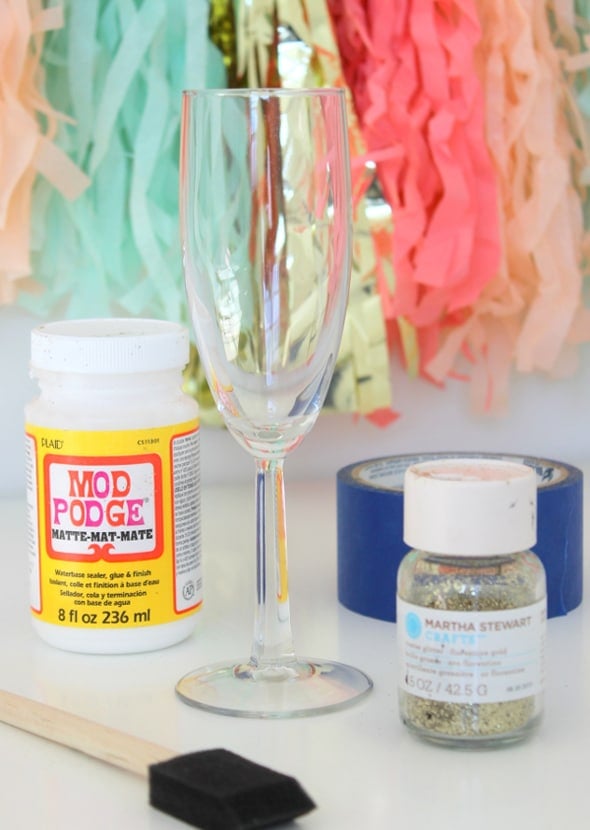 1. Begin by placing a piece of painter’s tape where the top of the flute stem meets the base of the glass.
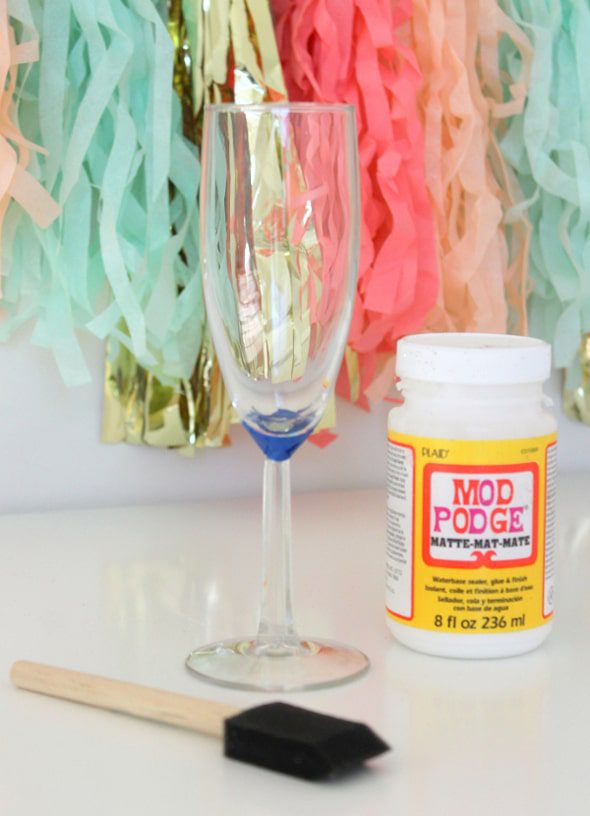
 2. Using your foam paint brush, add a thin layer of Mod Podge to the stem and base of the champagne flute.
 3. Next, generously sprinkle the glitter onto the Mod Podged portion of your glass.
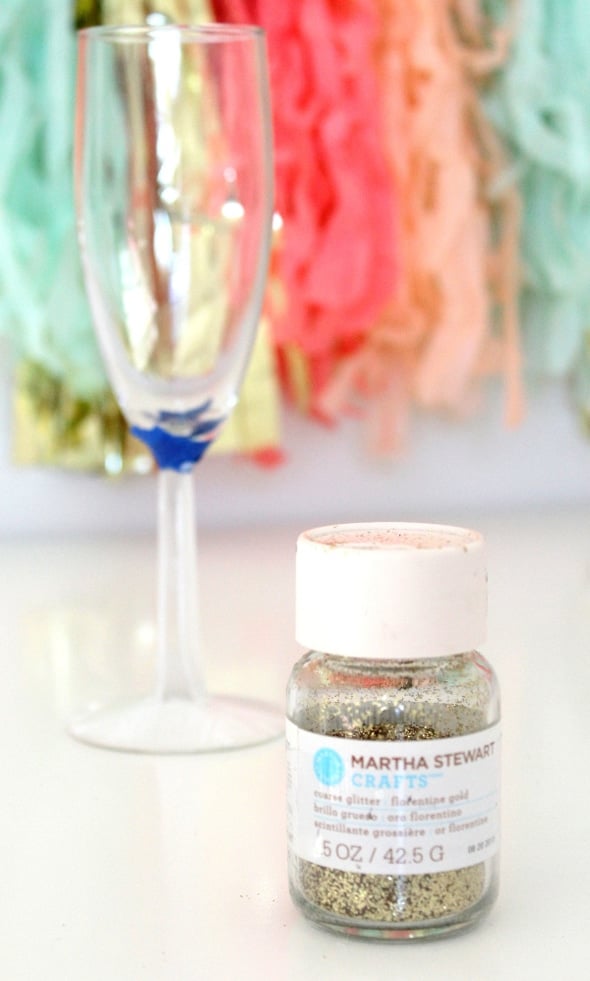 You may need to repeat steps 2 and 3 to fully cover the specified portion of the flute.
4. Gently shake any excess glitter from the champagne flute. To make these glasses hand-wash safe, cover the unglittered portion of your flute with a plastic bag and spray with Rustoleum Clear Sealer.
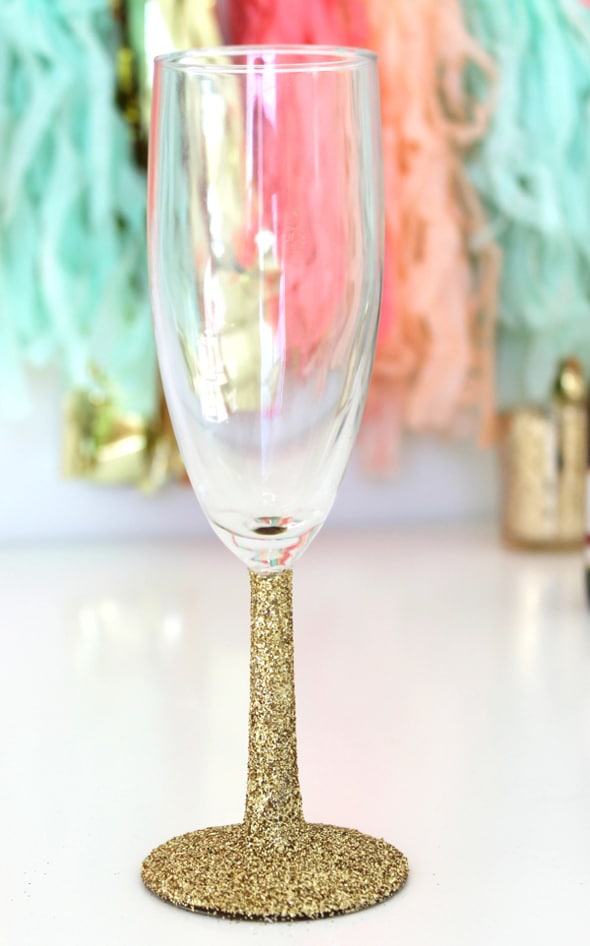 You now have a gorgeous, glittering champagne flute!
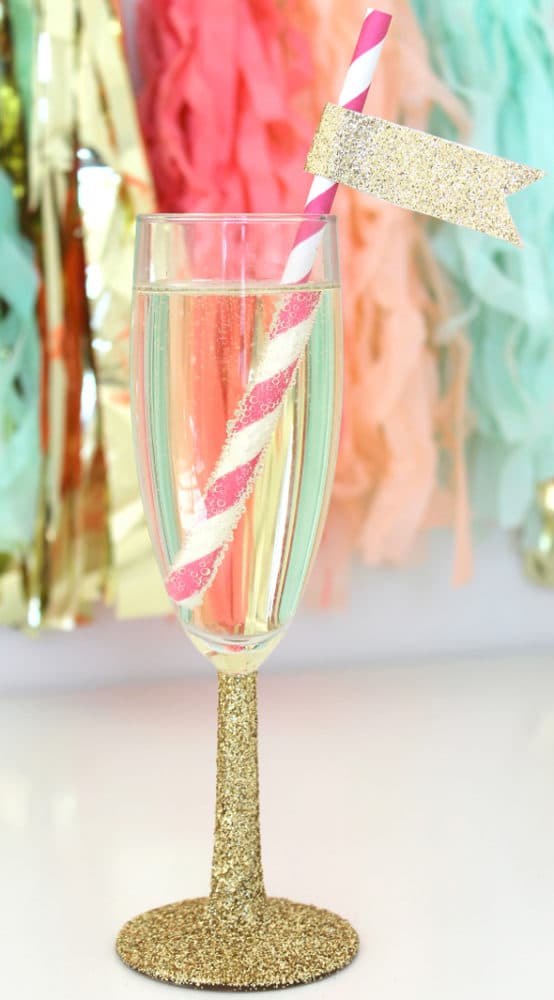 Now all that’s left to do is add a bit of bubbly, a cute paper straw and enjoy!
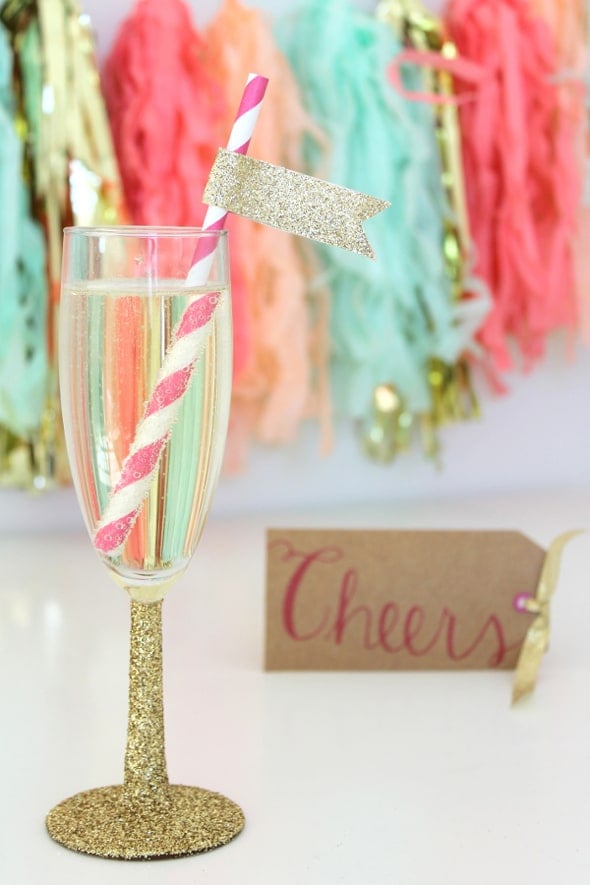 We hope you enjoy making these DIY Glittered Champagne Flutes as much as we did. Cheers!
Missy LoFaso and Kristen Bound are Pretty My Party’s DIY contributors. They are long-time friends who share a passion for pretty things and planning parties. Their mutual love and obsession for creating and styling events led them to develop Sweetly Chic Events & Design, an event styling and coordination company in Doylestown, PA. Sweetly Chic is based upon creating beautiful events that showcase a love of classic styles, unique trends and of course, a bit of glitz and glam! Follow Sweetly Chic Events & Design on Facebook | Pinterest | Twitter | Instagram
Was just reading this prettying up of the champagne flute. It’s a brilliant idea and the gold compliments just about any color. Another small step to co-ordinate the decor. 🙂