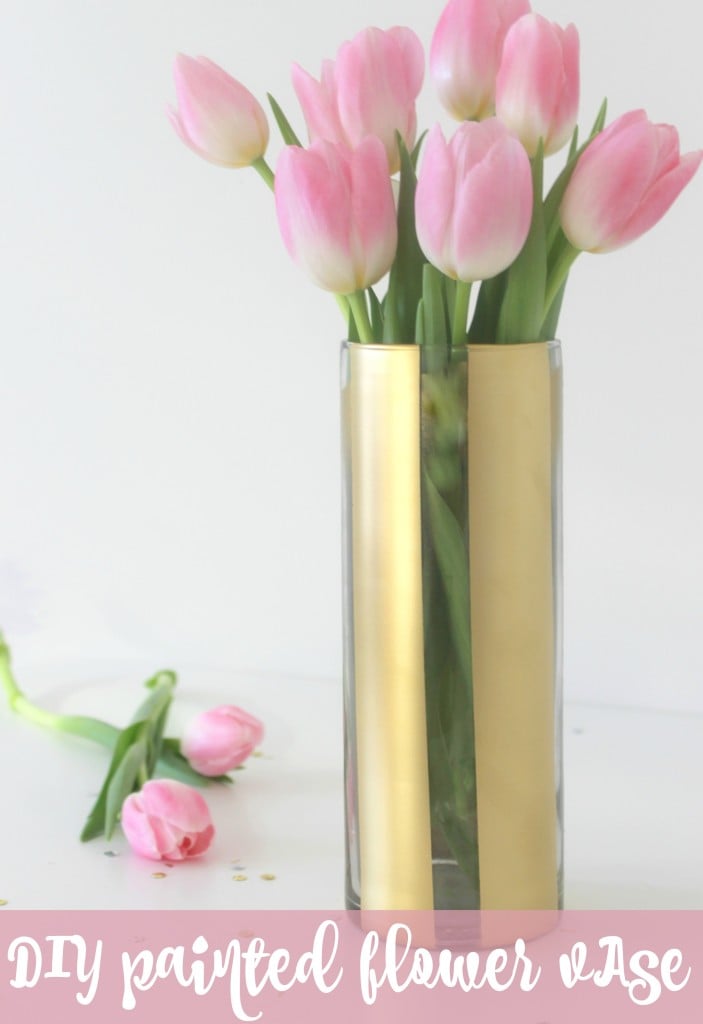
DIY Painted Flower Vase
This post contains affiliate links. Please see our full disclosure policy.
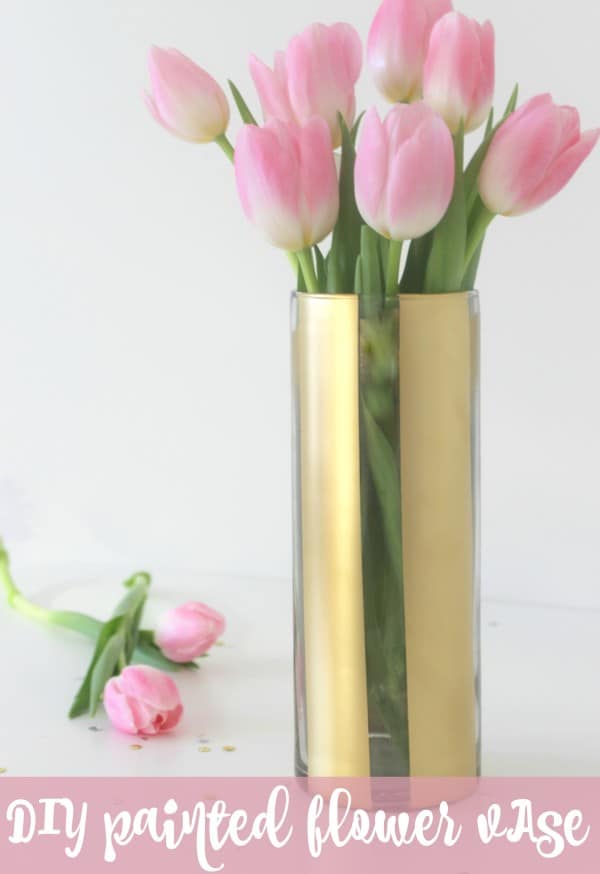
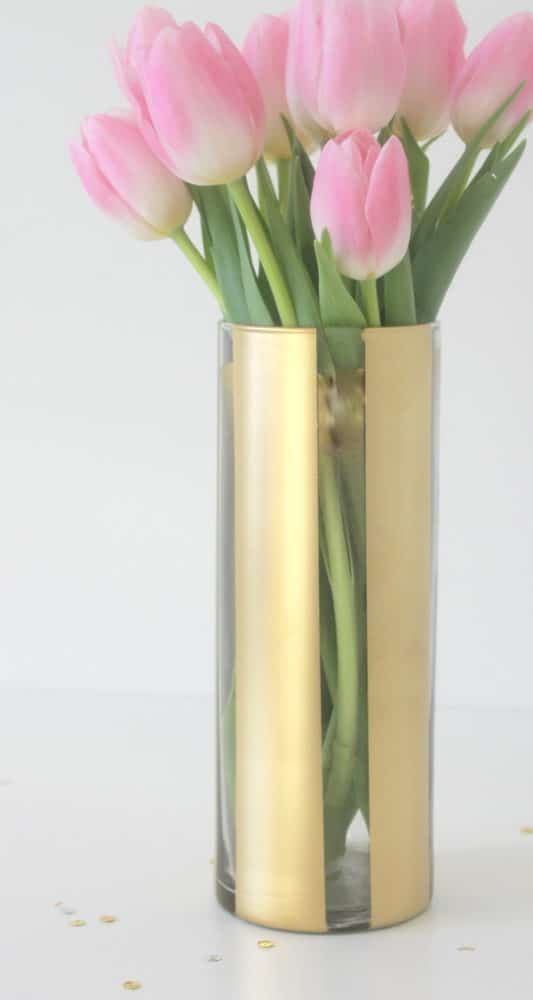
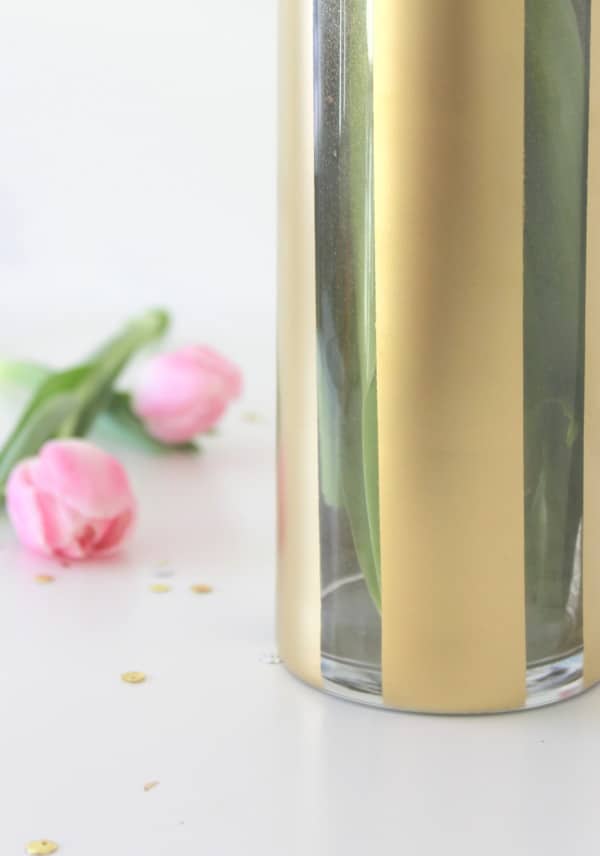
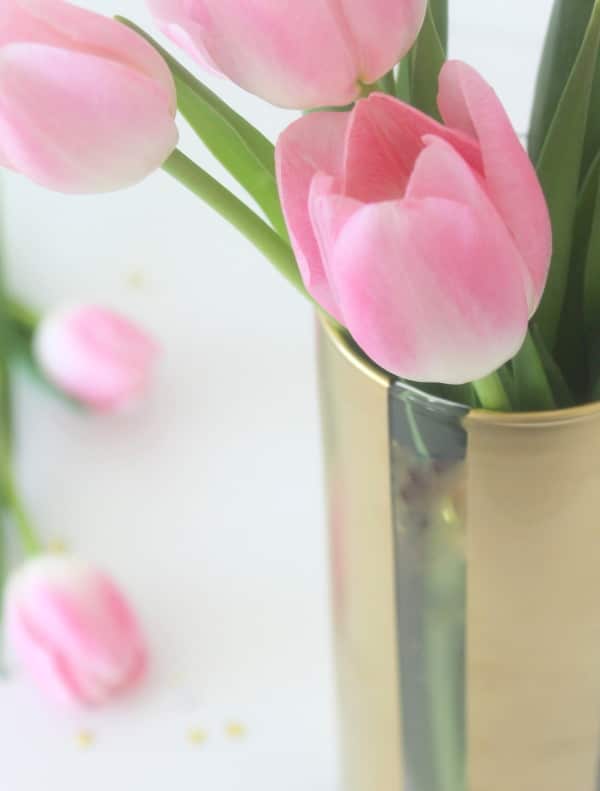
With Spring here, we are on the lookout for fabulous new ways to showcase our fresh flowers and this DIY Painted Flower Vase is the just what we were looking for! This gorgeous piece was completed in a few minutes and for only a few dollars. It doesn’t get much better than that!
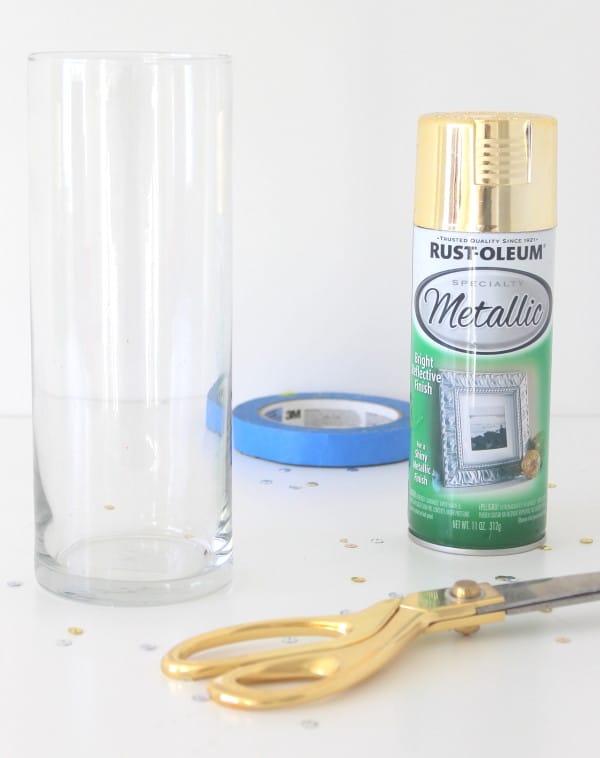
Supplies:
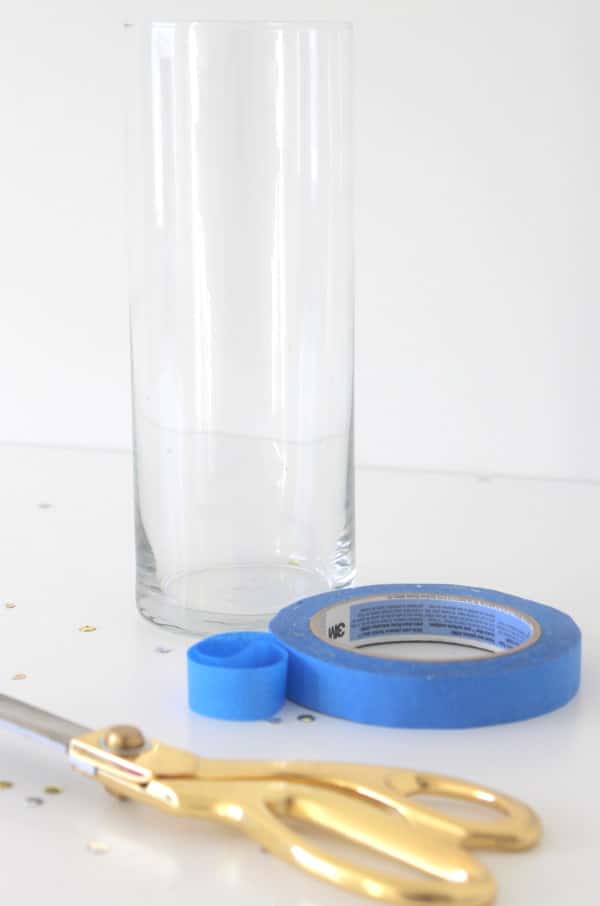
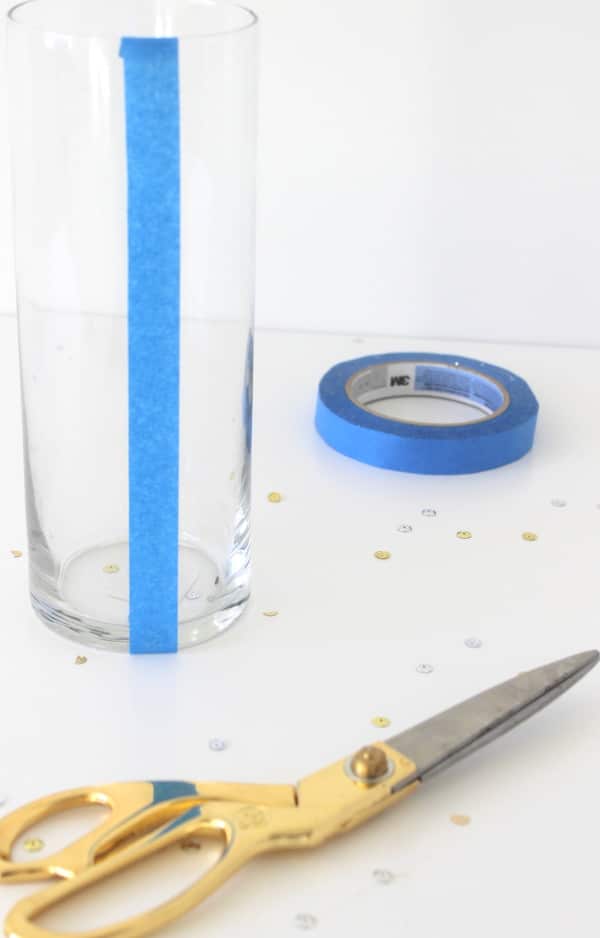
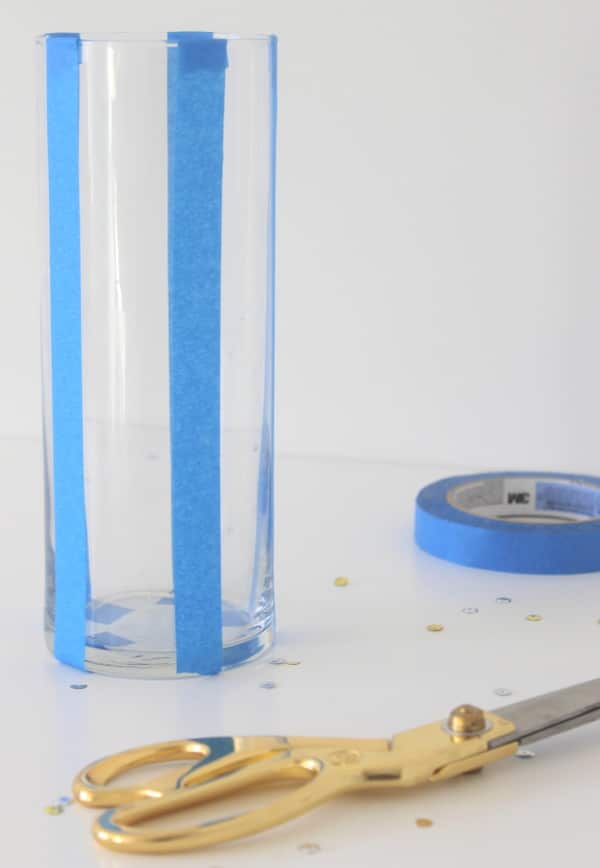
1. Begin by cutting a strip of painter’s tape that fully covers the height of your vase and attach lengthwise to the vase.
2. Repeat this step, leaving approximately 1-1.5″ in between each strip of tape, until you have added as many stripes as you would like to your vase. We added 5 strips of tape to our vase.
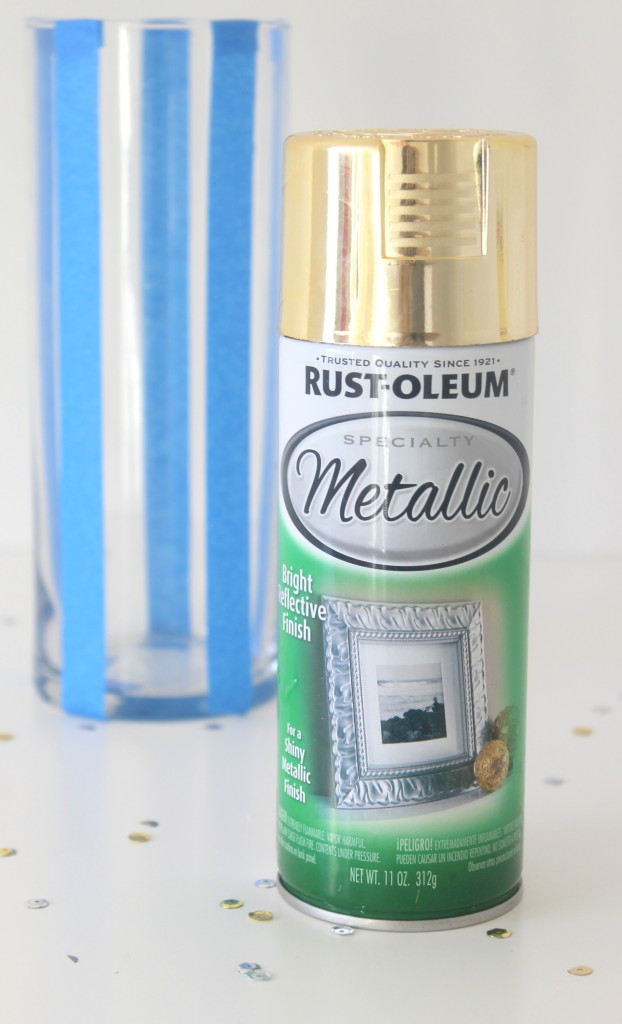
3. Next, it’s time to add some color! We love anything gold, so we went with a gold metallic spray paint.
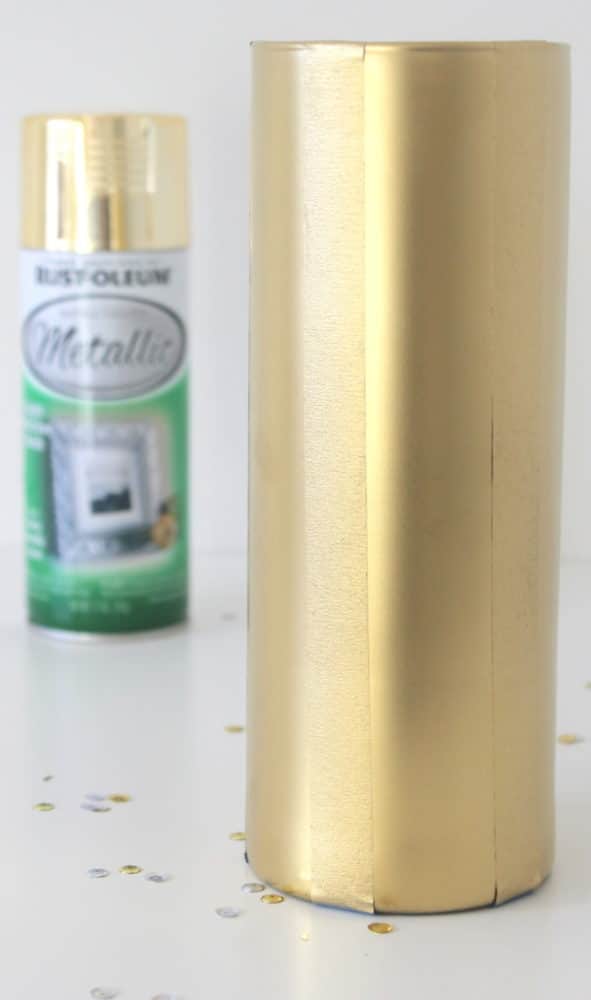
4. Make sure to head to a well-ventilated area and add 1-2 coats of spray paint.
5. Once the paint is completely dry, peel away the strips of painter’s tape and you will be left with a gorgeous piece of hand-crafted home decor!
We love that you can do any mix of design and color and create a stylish set of decor that is classically chic!
Until next time! Happy Spring!
Check out these other fun and easy DIY ideas on Pretty My Party!
- DIY Sequin Planter
- DIY Custom Champagne Favors
- DIY Floral Chair Backs
- DIY Glitter Champagne Flutes
- DIY Glitter Snow Vase
Missy LoFaso and Kristen Bound are Pretty My Party’s DIY contributors. They are long-time friends who share a passion for pretty things and planning parties. Their mutual love and obsession for creating and styling events led them to develop Sweetly Chic Events & Design, an event styling and coordination company in Doylestown, PA. Sweetly Chic is based upon creating beautiful events that showcase a love of classic styles, unique trends and of course, a bit of glitz and glam!


This look glam and fab! I’ve done this before with vases and it always turns out great! Love the stripes 🙂