Halloween Candy Bark
Halloween candy bark is a delicious and easy-to-make treat that is perfect for the spooky season. It’s made by melting chocolate and then topping it with your favorite Halloween candies.
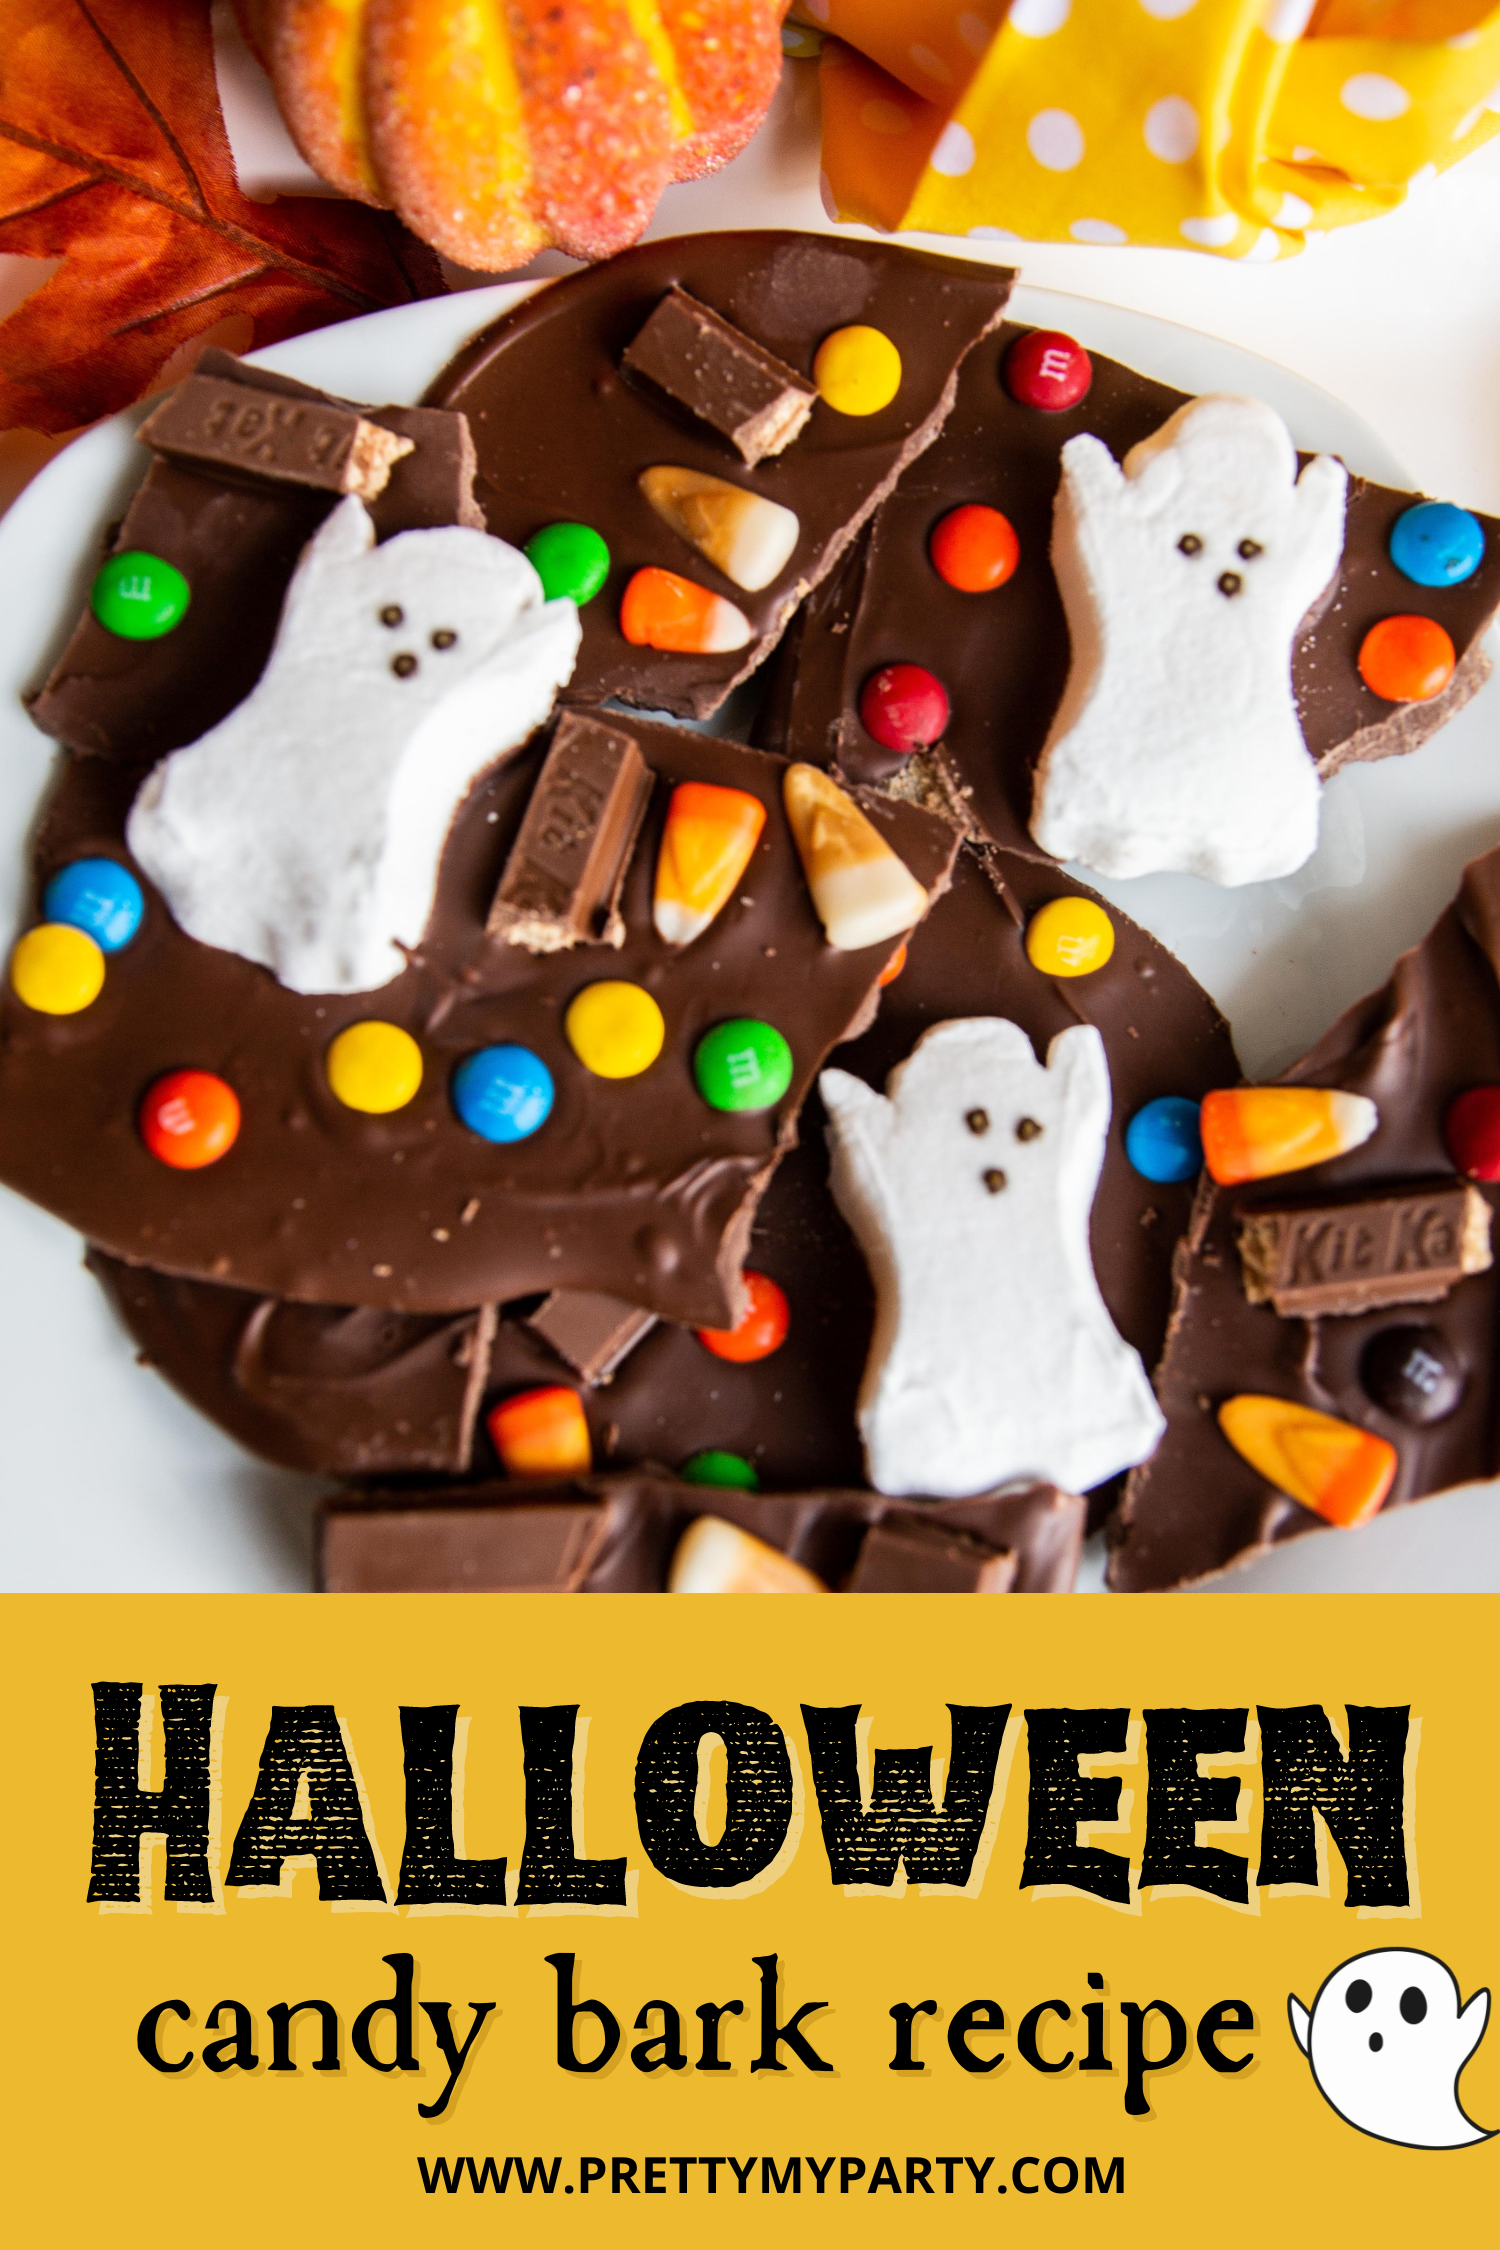
You can get creative with your toppings, but some popular choices include candy corn, M&Ms, sprinkles, Reese’s Pieces, Reese’s Peanut Butter Cups, Snickers bars, and Oreos.
Fun fact: Ever wonder why they call it chocolate bark or candy bark? Well, candy bark gets its name because of its resemblance to tree bark.
Table of contents
What is candy bark?
Candy bark is a type of dessert made by melting chocolate or candy melts and spreading it out on a cookie sheet or pan. Various toppings, such as nuts, dried fruits, candy pieces, or sprinkles, are then scattered over the melted chocolate.
Once the toppings are added, the candy bark is left to cool and harden, usually in the refrigerator or at room temperature. After it has hardened, the bark can be cut or broken into pieces to serve.
Candy bark is a versatile treat that can be customized with different types of chocolate, toppings, and flavors. It’s often made during holidays or special occasions and is popular as a homemade gift or festive treat for parties.
The combination of smooth, melted chocolate with the crunchy texture of the toppings makes candy bark a kid favorite!
What chocolate do you use for Halloween chocolate bark?
Depending on your desired flavor, Halloween candy bark can be made using various types of chocolate.
The most common type of chocolate used for candy bark is semi-sweet or bittersweet chocolate. These types of chocolate have a rich flavor and are not overly sweet, which combines well with your candy and other toppings.
However, you can also use other types of chocolate, like milk chocolate or white chocolate. Milk chocolate will give a sweeter and creamier taste, while white chocolate will provide a rich and vanilla-like flavor.
No matter which type of chocolate you choose for your recipe, we recommend high-quality chocolate for the best results. Our favorite brands are Nestle and Ghirardelli.
Have fun, experiment, and try using different chocolates to create unique and delicious combinations!
Do you melt the chocolate on the stove or in the microwave?
Both methods can be used to melt chocolate for your candy bark, so it all comes down to personal preference. Here’s a brief overview of each method:
Stove method: Melting chocolate on the stove involves using a double boiler or a heatproof bowl set over a pot of simmering water. Break the chocolate into small pieces and place them in the top bowl or the heatproof bowl. Stir the chocolate occasionally until it melts completely and becomes smooth. This method provides gentle and controlled heat, reducing the risk of overheating or burning the chocolate.
Microwave method: Melting chocolate in the microwave is a quicker and more convenient option. Place the chocolate in a microwave-safe bowl and heat the chocolate in intervals for 20-30 seconds at a time, stirring in between intervals. Be cautious not to overheat the chocolate, as it can easily scorch. Keep a close eye on it and stir frequently for even melting.
Candy bark variations
Here are some variations and different ways you can make Halloween candy bark:
- Use different types of chocolate, such as white chocolate, milk chocolate, or dark chocolate.
- Add different types of candy, such as Skittles, Starbursts, or gummy bears.
- Use nuts, dried fruit, or granola.
- Drizzle the bark with melted white chocolate or caramel.
- Add food coloring to the melted chocolate to create fun, festive colors.
No matter how you make it, your Halloween candy bark will surely be a hit with everyone who tries it. So get creative and have some fun!
How to make Halloween candy bark
This Halloween candy bark recipe is so easy to make you’ll be surprised! Whether you’re using leftover Halloween candy or making a treat for a party, this recipe is sure to please. Everyone will be asking you for the recipe, so be sure to save it for your Halloween dessert recipe book.
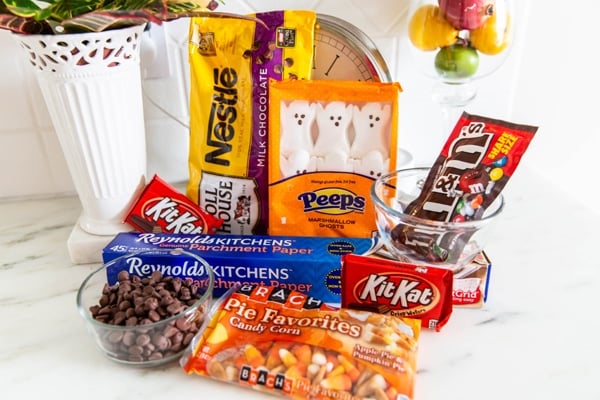
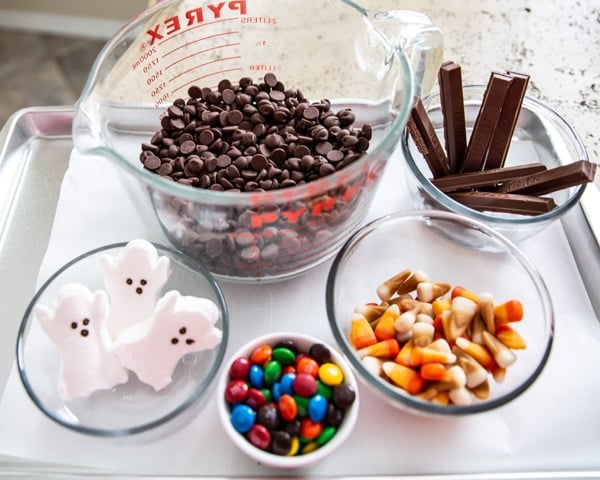
To make this Halloween candy bark, you’ll need:
- 1 pound of chocolate chips (semisweet or bittersweet)
- Your favorite Halloween candies
- Parchment paper
- Cookie sheet
- Microwave-safe bowl
- Spoon
- Spatula
1. Get your pan set up
First, cut a piece of parchment paper to the size of your cookie sheet or pan. Place the parchment paper in the pan and set it aside. You’ll need it soon.
2. Prep your chocolate
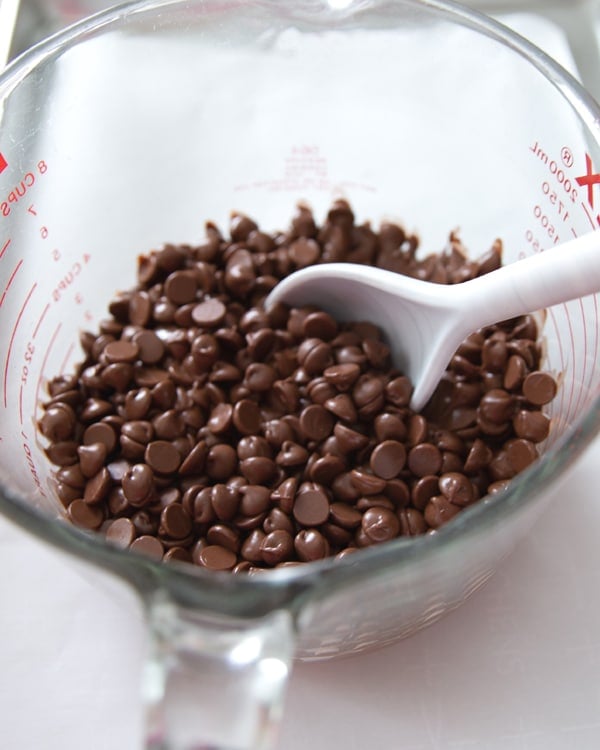
Place 4 cups of Nestle Toll House chocolate morsels in a large, microwave-safe bowl. Microwave on medium-high (70%) power for 1 minute or until the chocolate is softened and you can stir it smoothly.
3. Stir the chocolate
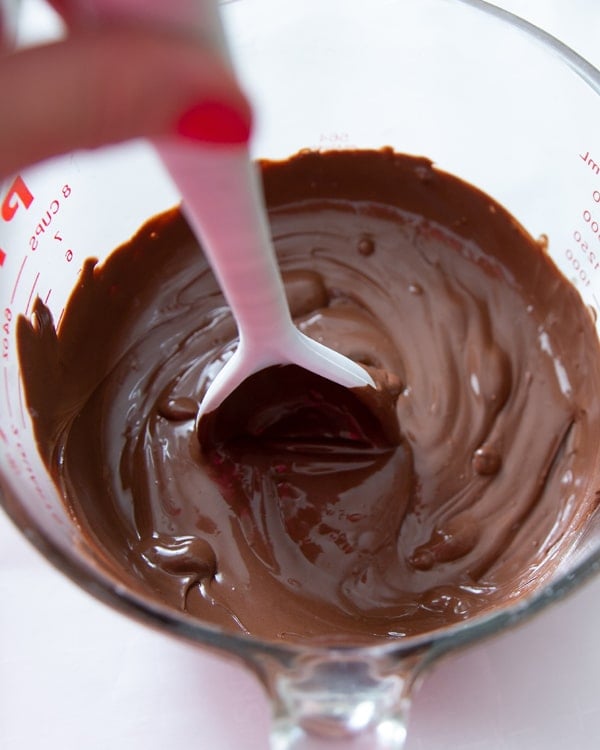
Stir the morsels until most of them are melted. Some of the morsels may retain their original shape, which is fine. If this is the case, microwave the chocolate for an additional 10 to 15 seconds, stirring after each interval, until all of the morsels are melted and smooth.
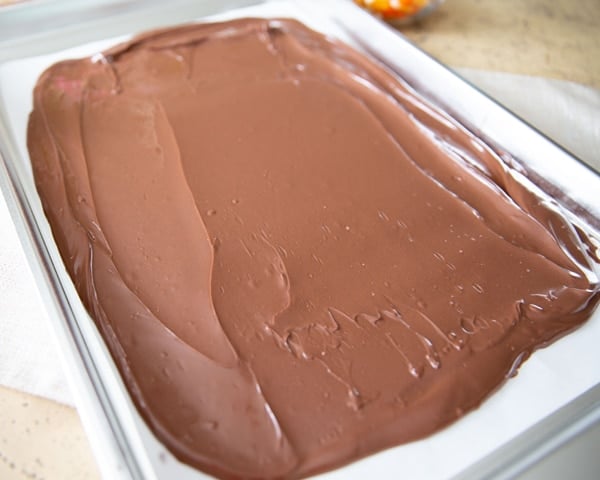
4. Pour the chocolate onto parchment paper
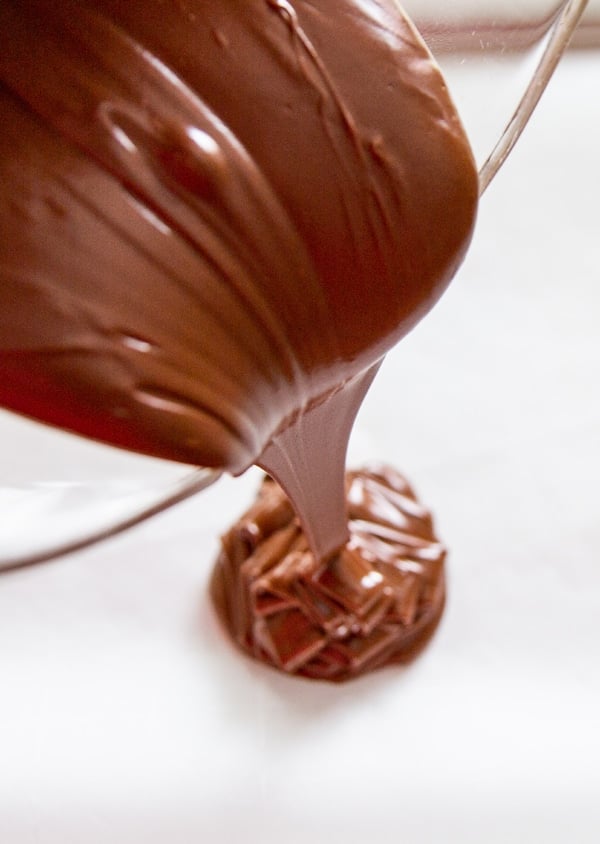
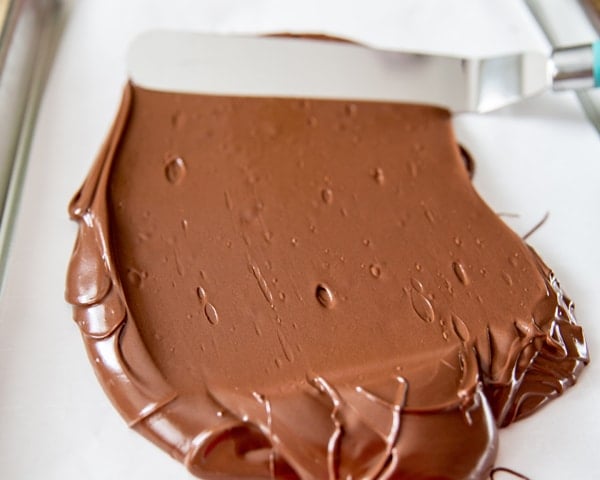
Pour the melted chocolate into the pan on top of the parchment paper. Use a spatula to spread the chocolate as evenly as possible to create a thin layer. The spatula will help you achieve a smooth and even surface.
5. Let the chocolate stand
After smoothing out the chocolate, let it stand for 1 minute to set. This will allow the chocolate to firm up slightly and make it easier to work with.
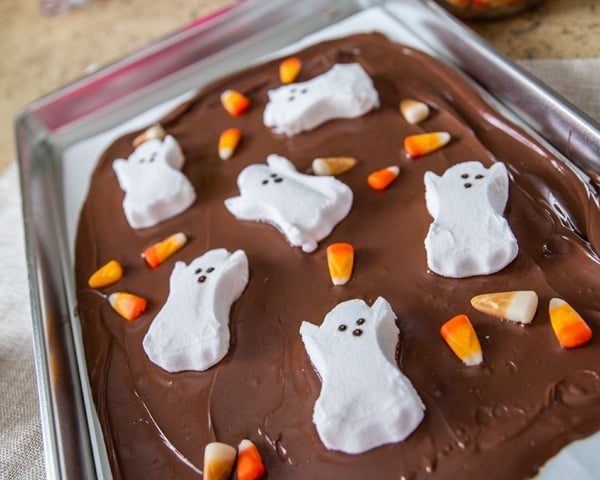
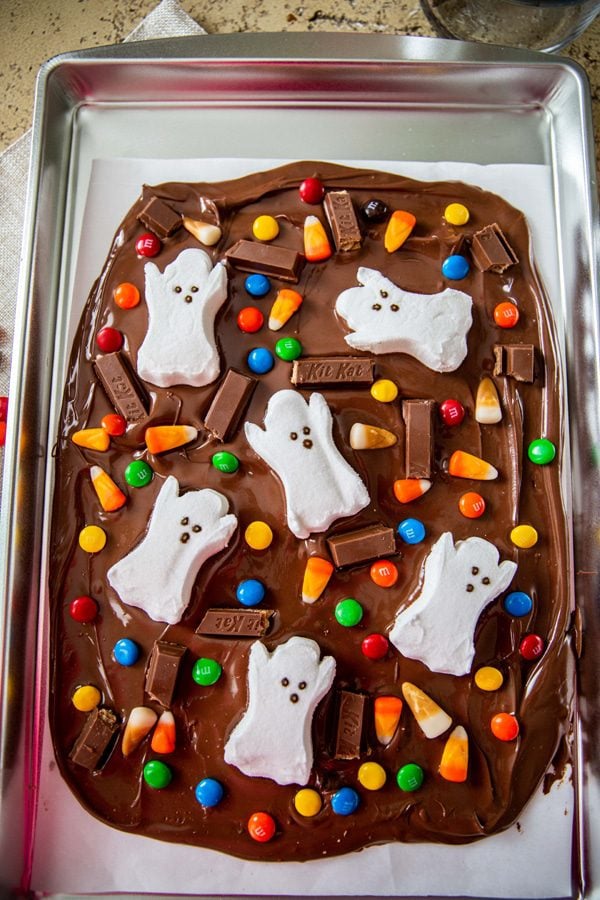
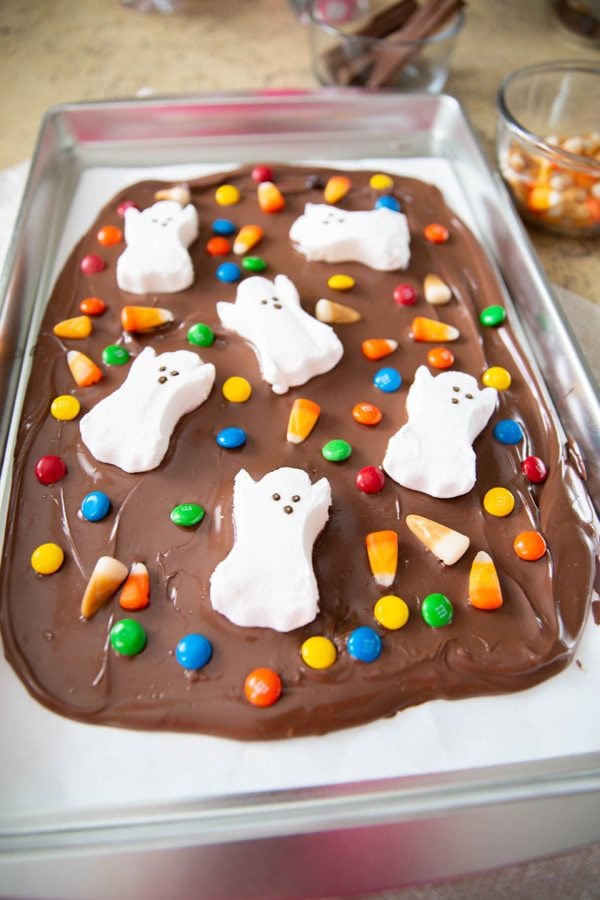
6. Decorate
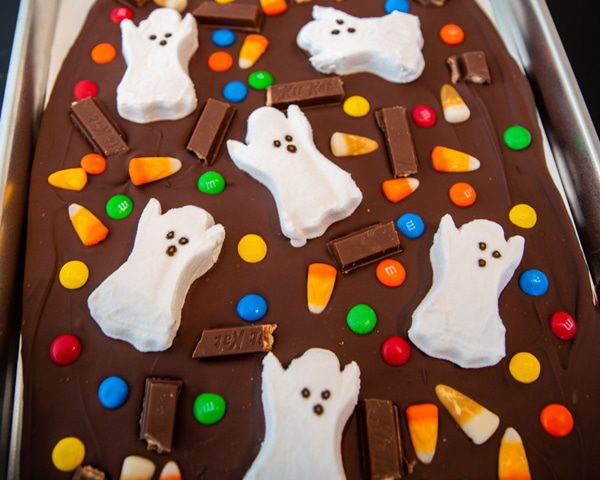
Now comes the fun part! Get creative and arrange your favorite candies on top of the melted chocolate. You can be as creative as you want. This is a great activity to get the kids involved. They will have a blast using their leftover Halloween candy to create their own unique patterns.
Halloween candy we used for this recipe includes:
- Ghost Peeps
- Candy Corn
- M&Ms
- KitKat (did you know they have Pumpkin Pie KitKats?)
If you’re feeling really creative, you could even make a personalized Halloween candy bark for each child. After all, they come home with way too much candy, so why not have fun with it – right?!
7. Refrigerate
Once everyone has had their fun arranging the candies on the chocolate, place the pan in the refrigerator for at least 30 minutes. This will allow the chocolate to set and cool, making it easier to break into pieces.
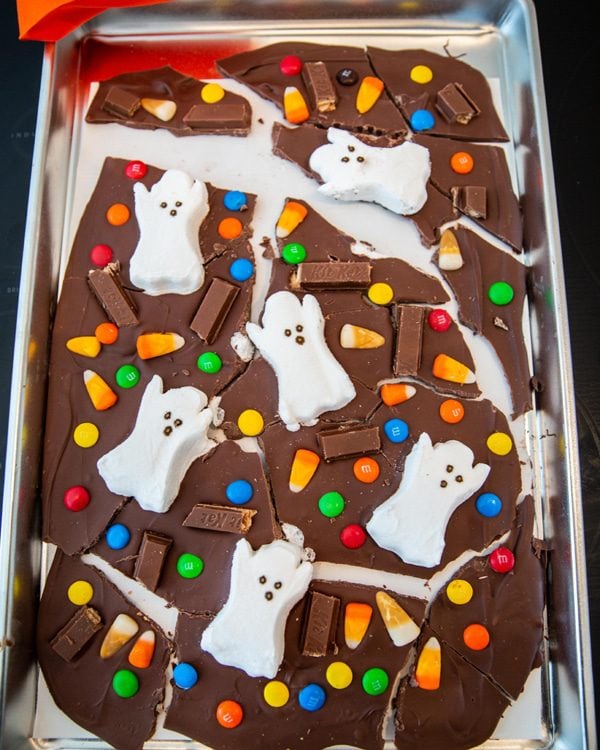
8. Break the chocolate apart
Once the chocolate is cool, it will be hard. Remove the pan from the refrigerator and break the chocolate into pieces of “bark.” The kids will love helping with this part! After all, if they’re going to destroy something, it might as well be something they’re supposed to break apart, right?
To print the recipe, see the recipe card below.
Other topping ideas for this Halloween bark recipe:
If you don’t have chocolate chips, you can use almond bark or candy melts. You can also use any type of candy you like, as long as it’s not too soft or sticky. If you’re using hard candies, you may want to crush them before adding them to the bark.
How do you store candy bark?
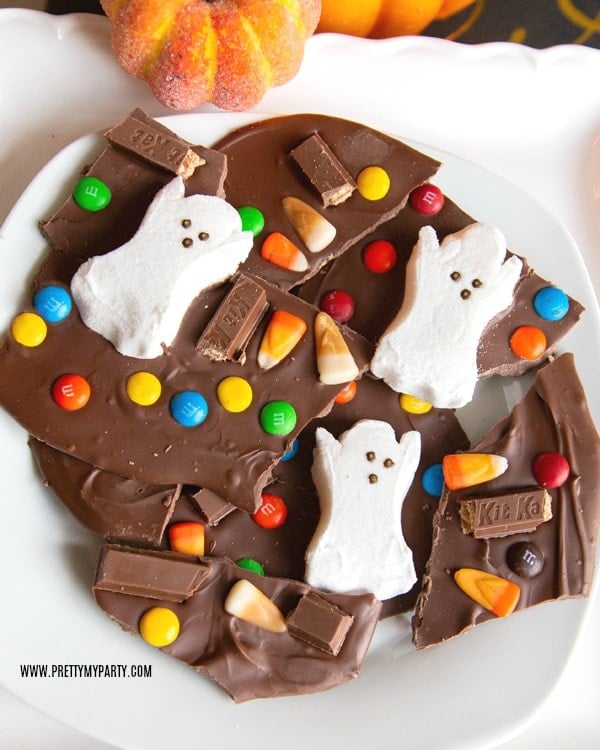
Halloween candy bark can be stored in an airtight container at room temperature for up to 1 week. It doesn’t need to be refrigerated, but you can keep it for up to 3 months in the freezer. To thaw frozen bark, let it sit at room temperature for a few hours or until it’s soft enough to cut.
Halloween candy bark can be served at any Halloween party or gathering. It’s also a great treat to take to work or school. If you’re giving the candy bark as a party favor or holiday gift, grab these cute Halloween bags.
Whether you are looking for a quick and easy snack or a fun activity to do with the kids, Halloween candy bark is a great option. Making candy bark is a fun and easy way to get into the Halloween spirit. With just a few simple ingredients, you can create an easy, delicious, and festive treat that kids and adults will love!
So gather up your favorite chocolate and toppings or leftover Halloween candy and get creative!

Halloween Candy Bark
Whip up this easy and delicious Halloween Candy Bark with your favorite Halloween candy! The kids will love it!
Ingredients
- 4 cups 2 12-oz. pkgs. NESTLÉ® TOLL HOUSE® Milk Chocolate Morsels
- 1 Package Ghost Peeps
- 2 Packages Kit Kat Bars
- 1 Package M&Ms
- 1 Package Candy Corn
Instructions
-
Place parchment paper on top of pan after cutting to appropriate size. Set pan aside.
-
Microwave chocolate morsels in a large, uncovered, microwave-safe bowl on medium-high (70%) power for 1 minute.
-
Stir. The morsels may retain some of their original shape. If so, microwave an additional 10 to 15 second intervals, stirring until morsels are melted.
-
Pour into the prepared pan on top of the parchment paper. Spread the chocolate out as evenly as you can.
-
Let it stand for 1 minute.
-
Have fun placing all your candy on top of the melted chocolate.
-
When you're done arranging all of the chocolate, place the pan in refrigerator for 30 minutes.
-
Pull the pan out of the refrigerator and break the chocolate into chunks of bark with your hands.
Don’t miss these Halloween recipes:
It looks so good! I love the little ghosts on top.
Thank you for sharing at The Really Crafty Link Party. Pinned.